Key tip: An IP camera sends video over a network. Therefore, it needs an address, power, and storage. Plan these three items early.
What Is an IP Camera and How Does It Work?
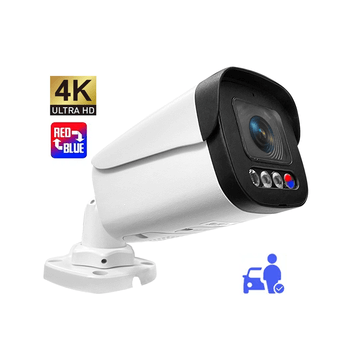
An IP camera records video. Then it encodes that video into digital data. Next, it sends the data over your network. Each IP camera is a network device. In fact, every camera has its own IP address. This is different from old analog CCTV cameras.
An NVR is the most common recording device. However, it is not always required. Some cameras record to microSD cards. Others record to NAS systems, servers, or the cloud. Therefore, your system can work with many different setups.
What Do You Need for IP Camera Installation?
Before you start, gather all the parts. Then installation will feel much easier. Here is a basic list for a wired IP camera installation.
Component
Purpose
IP camera
Captures video
Cat5e or Cat6 cable
Carries network data
PoE switch or PoE NVR
Supplies power and network connection
NVR or VMS
Records and manages cameras
Storage HDD
Stores recorded video
Router
Connects devices to the network
Monitor or mobile device
Used for viewing and configuration
Outdoor cameras need extra parts. Therefore, keep these items ready: weatherproof junction boxes, outdoor-rated cable, and surge protection. These parts help your equipment handle rain and power spikes.
PoE vs Wi-Fi Cameras: Which Is Better?
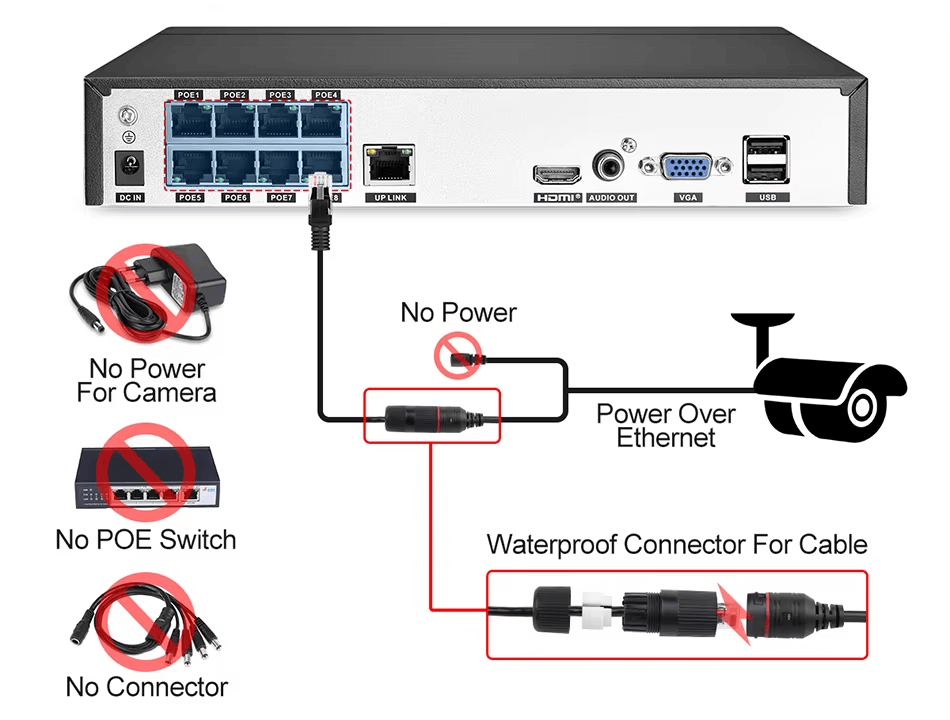
Now choose your connection type. For permanent cameras, PoE is usually the best option. One cable carries both data and power. As a result, installation is neat and reliable. Wi-Fi cameras also work well. However, they need separate power. Their signal can also suffer from walls and interference.
Second, calculate your bandwidth and storage. This will prevent surprises later. A useful storage formula is:
Storage per day ≈ bitrate (Mbps) × 10.8 GB
Average Bitrate
Storage per Day
Storage per 30 Days
1 Mbps
10.8 GB
324 GB
2 Mbps
21.6 GB
648 GB
4 Mbps
43.2 GB
1.30 TB
6 Mbps
64.8 GB
1.94 TB
8 Mbps
86.4 GB
2.59 TB
For example, one camera at 4 Mbps uses about 43.2 GB per day. Eight cameras at 4 Mbps for 30 days need about 10.37 TB. Add extra capacity for system files and future needs.
Step 3 — Check the PoE Power Budget
Third, verify your PoE power budget. Many installers only count ports. However, total power is more important. The main power levels come from IEEE 802.3 Ethernet standards.
Let us look at a simple example. Eight cameras at 12 W each need 96 W total. Therefore, choose a PoE switch above 96 W. Extra headroom is even safer. This is especially true when cameras use IR lights or heaters.
Step 4 — Run Ethernet Cable to Each Camera
Fourth, run your Ethernet cables. Cat5e or Cat6 cable works well. The normal structured-cabling channel limit is 100 meters (328 feet). This includes the permanent cable and short patch cords. These rules follow industry cabling guidance from organizations such as TIA.
Longer distances need special solutions. Use fiber-optic cable for very long runs. Alternatively, add a network switch closer to the camera. A compliant Ethernet or PoE extender can also solve the problem.
Step 5 — Connect the Camera to a PoE Switch or NVR
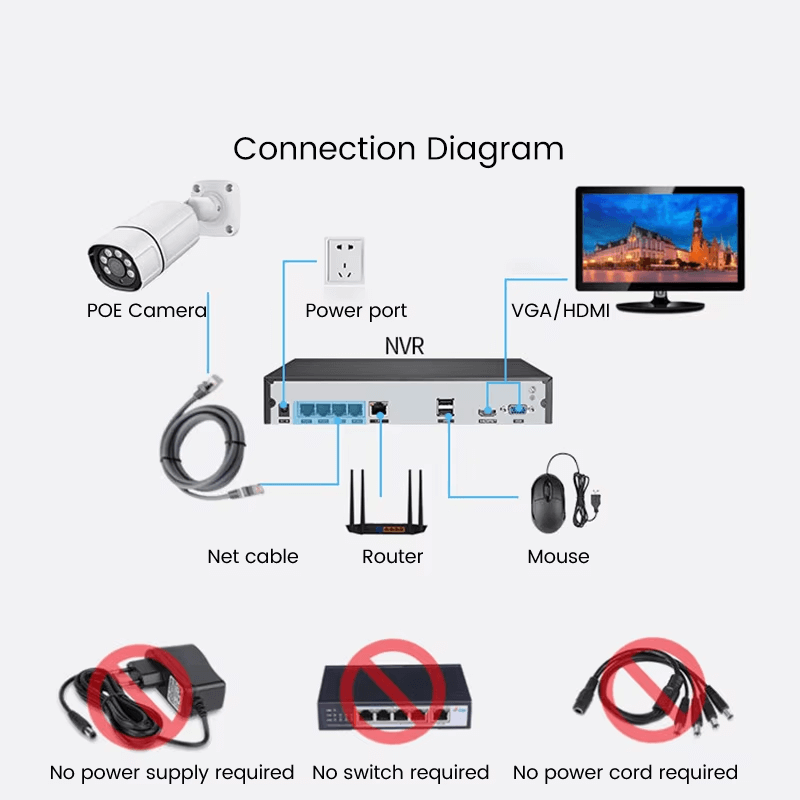
Fifth, connect all the pieces. Choose one of these system layouts:
Many NVRs have built-in PoE ports. That setup is simple for small systems. External PoE switches work better for large systems. After connecting, check the camera LED indicators. The link light confirms that the camera is active.
Step 6 — Configure the Camera’s IP Address
Sixth, set up network addressing. Usually, the camera receives an IP address through DHCP automatically. Then you need to find that address. Use one of these discovery methods:
For permanent cameras, choose a static IP or DHCP reservation. A DHCP reservation is easy to manage. Your router will assign the same address every time. Here is a simple example:
Router: 192.168.1.1 NVR: 192.168.1.10 Camera 1: 192.168.1.101 Camera 2: 192.168.1.102 Camera 3: 192.168.1.103
Step 7 — Add the Camera to the NVR
Seventh, add the camera to your NVR. Many NVRs detect cameras automatically. If not, enter the camera details manually. Typical login fields include:
Camera IP address.
Username.
Password.
Protocol.
Camera port, when needed.
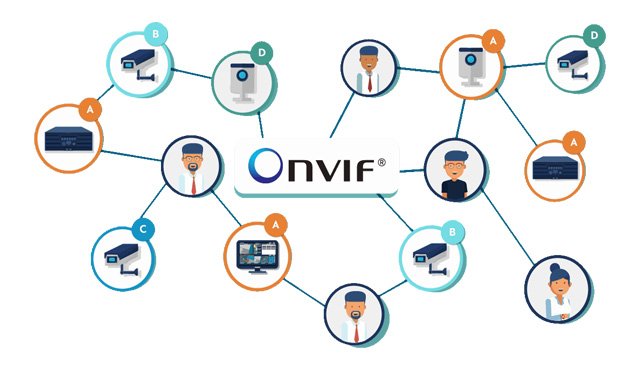
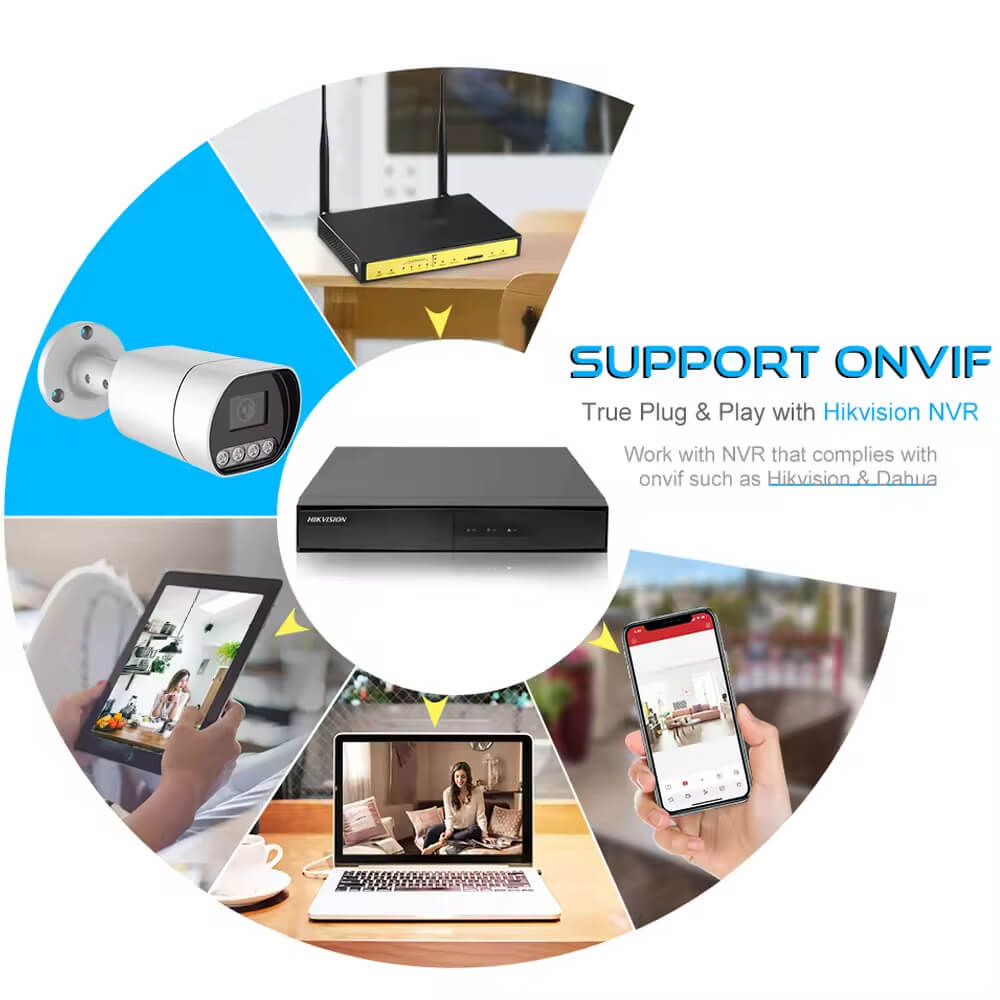
Also check ONVIF compatibility. ONVIF is an open standard for video devices. It lets different brands work together. Profile S supports basic streaming. Profile T supports modern video codecs. Therefore, verify the exact ONVIF profiles on both devices. You can learn more at the official ONVIF website.
Step 8 — Configure Recording Settings
Eighth, set up recording. Your settings control video quality and storage use. Adjust these items to match your needs:
Resolution.
Frame rate.
Video codec.
Bitrate.
Continuous, motion, or event recording.
Pre-record and post-record time.
Retention period.
Overwrite rules.
Common resolution choices include 1080p (about 2 megapixels), 1440p (about 4 megapixels), and 4K UHD (about 8 megapixels). Remember, higher resolution does not always mean better identification. Lens quality, distance, and lighting also matter.
Step 9 — Enable Remote Viewing
Ninth, enable remote viewing. Your system can record locally without internet. However, remote viewing needs internet access. Use a secure vendor app or VPN to watch from other places. Avoid exposing cameras directly to the public internet. This reduces many security risks.
Step 10 — Secure the Camera System
Tenth, secure every connected device. Many cameras get hacked because users keep default settings. Follow this security checklist after installation:
Change all default passwords.
Use unique, strong administrator credentials.
Install current manufacturer-approved firmware.
Disable unused services and features.
Restrict administrative access.
Separate surveillance devices from sensitive business systems where possible.
Use encrypted connections for remote access.
Keep NVRs, switches, and routers physically secure.
Finally, test everything. Look at the image during the day. Then check the night image too. Test IR illumination, motion detection, playback, and remote viewing. Also check camera angles and blind spots. Night testing is very important. Headlights, glass reflections, and insects often cause problems that only appear after dark.
How Much Storage Do IP Cameras Need?
Storage depends on bitrate, resolution, and recording mode. Use this simple formula again:
Storage per day ≈ bitrate (Mbps) × 10.8 GB
For continuous recording, a 4 Mbps camera uses around 43.2 GB per day. That equals about 1.30 TB for 30 days. A full 16-camera system needs much more. Therefore, always calculate before you buy hard drives.
How Far Can a PoE IP Camera Be Installed?
The normal Ethernet limit is 100 meters or 328 feet. This distance includes the wall cable plus patch cords. For longer distances, use fiber optics. You can also add an extra network switch. Alternatively, use a compliant PoE extender. These methods keep your IP camera installation reliable over long runs.
Do IP cameras need internet? No. IP cameras can record locally without internet. Internet is only needed for remote viewing and cloud services.
Does an IP camera need an NVR? No. Some IP cameras record to microSD cards, NAS, or cloud platforms. An NVR is common for central management, but it is not always required.
Can I install IP cameras myself? Yes. A small PoE camera system is easy for a prepared person. Large commercial projects may need professional installers.
How do I connect an IP camera to an NVR? Connect both devices to the same network. Then find the camera through the NVR. Finally, enter its address and login details.
Why won’t my NVR detect my IP camera? Check for subnet issues, wrong passwords, IP conflicts, or incompatible ONVIF settings.
Choose the Right IP Cameras for Your Security System
At JER Technology, we have manufactured surveillance products for over 15 years. Our team designs cameras, recorders, and complete kits for homes and businesses. We understand IP camera installation challenges. Therefore, we build systems that are easy to use and reliable.
Tell us about your project. We can recommend the right camera count and storage size. Browse our complete product range at jer-tech.com.
Conclusion
IP camera installation is a realistic project for any prepared person. First, plan each camera location carefully. Next, calculate your storage and PoE power. Then run quality cabling. After that, connect and configure every device. Finally, secure and test the whole system. If you follow these steps, your security cameras will deliver clear footage for many years.
 Skip to content




 English
  Español
  Português
  العربية
  Русский
  Français
  日本語
日本語  Türkçe