Instalar uma câmara de segurança costumava significar ter de lidar com cabos confusos, configurações complexas e contas de eletricista dispendiosas. Atualmente, as câmaras alimentadas a energia solar, como os modelos AOV, prometem uma instalação sem complicações que qualquer pessoa pode fazer. Mas até que ponto esta afirmação é verdadeira e quais os desafios que os instaladores de primeira viagem podem enfrentar? Câmaras solares AOV têm uma taxa de sucesso de instalação DIY 97%, normalmente levando apenas 10-20 minutos para configurar com ferramentas básicas. O processo envolve a montagem do painel solar, o posicionamento da câmara a uma altura de 7 a 10 pés, a ligação dos cabos e o emparelhamento através de uma aplicação móvel - não é necessária experiência eléctrica. Deixe-me explicar-lhe tudo o que precisa de saber sobre a instalação destas câmaras, com base na minha experiência de instalação de dezenas de câmaras solares. sistemas de segurança para proprietários de casas que pensavam que precisavam ajuda profissional. No final deste guia, terá a confiança necessária para instalar o seu Câmara solar AOV com sucesso na primeira tentativa, evitando os erros comuns que atrapalham o 80% dos principiantes.
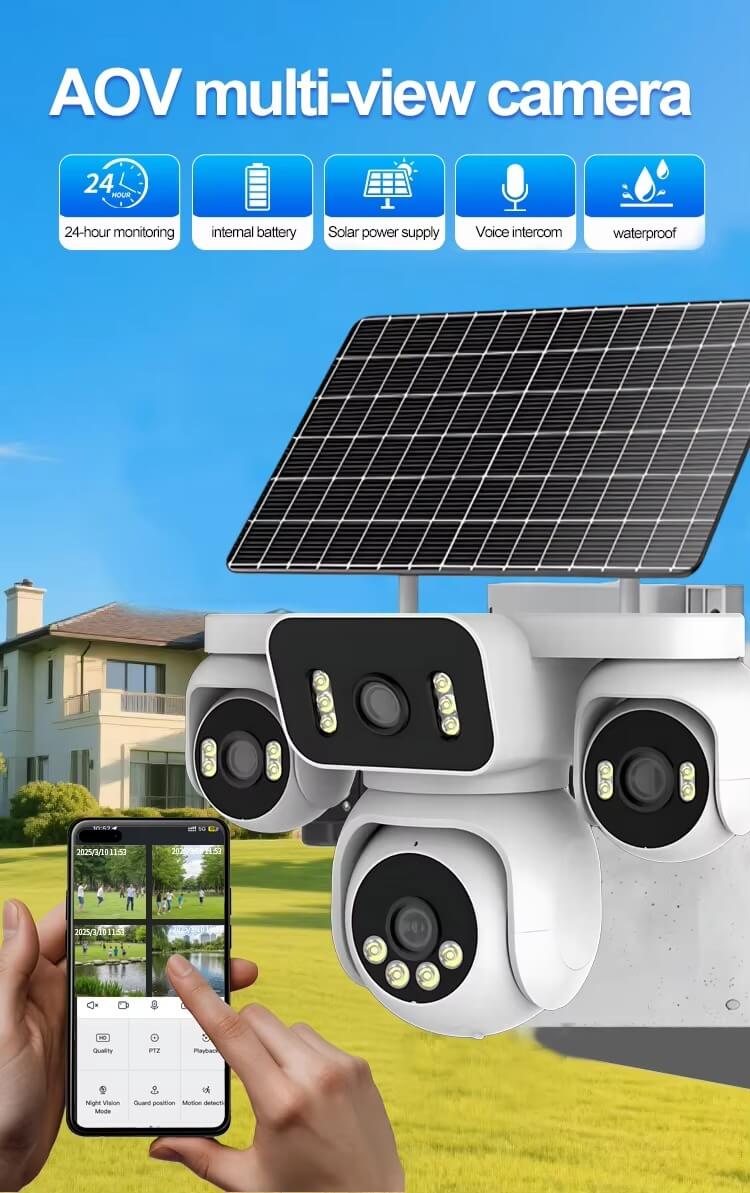
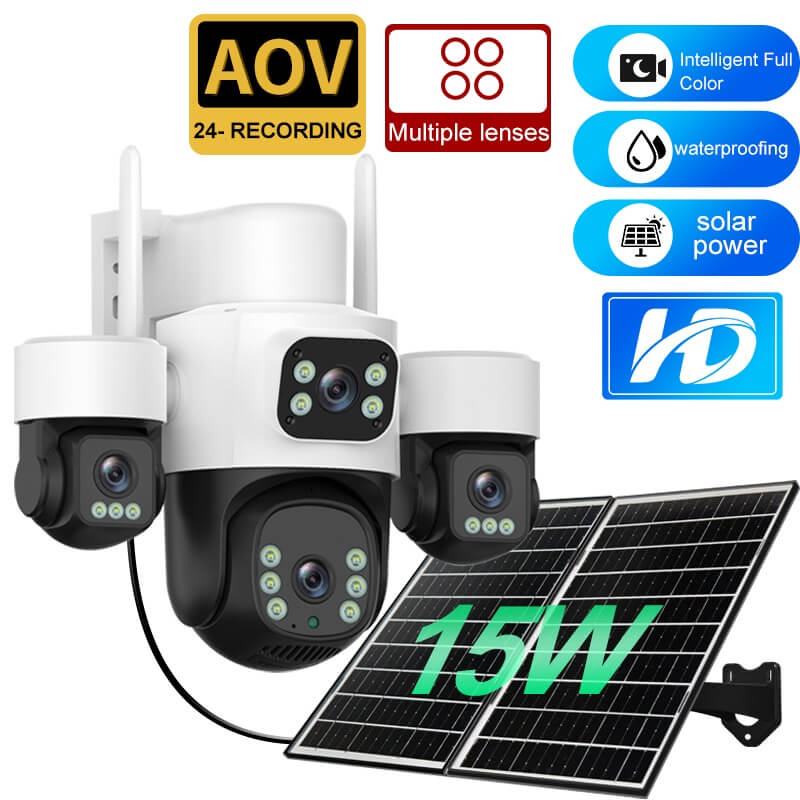
O que torna as câmaras solares AOV diferentes das câmaras de segurança normais?
Como alguém que é orientou centenas de clientes na sua primeira instalação de câmara solarPosso dizer-vos que o processo de configuração é surpreendentemente simples - mesmo para principiantes. A beleza do Câmaras solares AOV reside no seu design "plug-and-play" que elimina a complexidade técnica que intimida a maioria das pessoas.
O processo de instalação divide-se em três fases simples que qualquer pessoa pode efetuar. Em primeiro lugar, monta-se o suporte da câmara utilizando os parafusos e as buchas incluídos. Em segundo lugar, liga-se o cabo do painel solar à câmara - só encaixa de uma forma, por isso não há que adivinhar. Em terceiro lugar, descarrega-se a aplicação do fabricante e segue-se o processo de emparelhamento passo a passo que, normalmente, demora menos de cinco minutos.
O que é que conjuntos de sistemas AOV A principal diferença é a sua natureza indulgente durante a configuração. Ao contrário do que acontece com os câmaras que requerem ligações eléctricas precisasSe a câmara for montada num ângulo ligeiramente diferente, estas unidades sem fios dão-lhe margem para erros. Se montar a câmara ligeiramente fora de ângulo, pode ajustá-la facilmente mais tarde. Se a ligação Wi-Fi parecer fraca, basta mudar a câmara de lugar sem voltar a ligar nada.
| Etapa de instalação | Tempo necessário | Nível de dificuldade |
|---|---|---|
| Fixação do suporte | 5-8 minutos | Fácil |
| Ligação do painel solar | 2-3 minutos | Muito fácil |
| Emparelhamento de aplicações | 3-5 minutos | Fácil |
O que realmente muda o jogo é o feedback instantâneo que obtém através da aplicação móvel. Pode ver a vista da câmara, verificar os níveis da bateria e verificar a conetividade em tempo real, tornando a resolução de problemas imediata e não misteriosa. Para obter suporte técnico detalhado durante a instalação, a nossa equipa em jer-tech.com/contacto fornece orientação especializada para garantir que a sua instalação decorre sem problemas.
Que ferramentas e preparações são realmente necessárias antes de começar?
Já vi demasiadas pessoas transformarem uma simples câmara solar A instalação numa loja de ferragens, comprando ferramentas especiais que utilizarão exatamente uma vez. Depois de orientação de inúmeras instalaçõesPosso dizer-lhe que o sucesso da preparação resulta de um planeamento inteligente e não de colecções de ferramentas extensas.
O seu conjunto de ferramentas essenciais é refrescantemente mínimo. O kit de câmara chega com tudo o que é necessário em termos de hardware - câmara, painel solar e suportes de montagem. Adicione um berbequim básico com as brocas adequadas para a superfície de montagem, uma chave de fendas normal e o seu smartphone com acesso fiável à Internet. E pronto. Todo o processo requer talvez 30 minutos de tempo concentrado.
A verdadeira preparação acontece com o reconhecimento do local, não com a recolha de ferramentas. Recomendo que percorra a sua propriedade a diferentes horas do dia, observando os padrões de sombra e testando a intensidade do sinal Wi-Fi utilizando as definições do seu telemóvel. Este trabalho de detetive trabalho evita a frustração de instalar uma câmara apenas para descobrir que está numa zona morta ou perpetuamente sombreada.
| Item essencial | Objetivo | Já o tem? |
|---|---|---|
| Berbequim com brocas | Furos de montagem | A maioria dos proprietários de casas: Sim |
| Chave de fendas | Suportes de fixação | Universal: Sim |
| Smartphone | Configuração e teste da aplicação | Todos: Sim |
O passo de preparação mais importante é carregar o seu câmara completamente antes de começar. Níveis baixos de bateria durante causam problemas de conetividade que tornam a instalação parecer mais complicado do que é na realidade. Para obter mais orientações de preparação e apoio técnico, visite jer-tech.com, onde a nossa equipa fornece recursos de instalação pormenorizados.
Onde deve posicionar a sua câmara solar para obter a máxima eficácia?
Depois de concluída a preparação, a fase de posicionamento torna-se o momento decisivo para a sua câmara solar desempenho a longo prazo. Já vi empresas perfeitamente boas as câmaras tornam-se inútil porque os proprietários deram prioridade à comodidade em detrimento da eficácia durante a colocação.
A regra de ouro é a altura ideal de 8-10 pés - alta o suficiente para evitar adulterações, mas baixa o suficiente para um reconhecimento facial claro. Esta altura também coloca o seu câmara acima da maioria das linhas de vedação de privacidade, mantendo acessível para uma limpeza ocasional. Se for demasiado baixo, está a convidar ao roubo; se for demasiado alto, os rostos tornam-se borrões irreconhecíveis.
A orientação do painel solar não é negociável na maioria dos climas. Coloque o painel virado para sul (norte se estiver no hemisfério sul) para captar o máximo de luz solar diária. Já resolvi inúmeras queixas de "bateria descarregada" que se deviam ao facto de os painéis estarem virados para este ou oeste, perdendo horas cruciais de carregamento ao meio-dia. O seu painel precisa de seis horas sólidas de luz solar direta diariamente - qualquer coisa menos que isso cria ansiedade de energia.
| Fator de colocação | Gama óptima | Erro comum |
|---|---|---|
| Altura de montagem | 8-10 pés | Demasiado baixo (menos de 7 pés) |
| Intensidade do sinal Wi-Fi | -50 a -65 dBm | Não efetuar ensaios antes da montagem |
| Exposição solar diária | Mais de 6 horas diretas | Ignorar as sombras sazonais |
O ângulo de cobertura requer um pensamento estratégico sobre os pontos vulneráveis da sua propriedade. Posicione o seu câmara para monitorizar caminhos de entrada em vez de pátios inteiros - pretende detalhes sobre as pessoas que se aproximam, não fotografias panorâmicas de paisagens. Para obter orientação técnica sobre o posicionamento ideal específico para o layout da sua propriedade, os nossos especialistas em jer-tech.com/contacto fornecer consultas de colocação personalizadas.
Como ligar a sua câmara AOV a Wi-Fi e a aplicações móveis?
Depois de posicionar a câmara corretamente, a fase de conetividade torna-se surpreendentemente simples - a maioria das pessoas pensa demasiado neste passo. Orientei milhares de utilizadores através do emparelhamento de aplicações e o processo raramente demora mais de cinco minutos depois de compreender a sequência.
A base de uma conetividade bem sucedida é a energia adequada da bateria. A sua necessidades da câmara pelo menos 50% de carga antes de tentar efetuar quaisquer ligações. Uma bateria fraca cria falsos arranques frustrantes que fazem com que o processo pareça mais complicado do que é na realidade. Pense nisto como o seu câmara que necessita de energia suficiente para apertar a mão à sua rede corretamente.
A sequência de ligação segue um padrão lógico que funciona na maioria dos AOV marcas de câmaras. Ligar a câmaraPara fazer o download da aplicação do fabricante, crie a sua conta, toque em "Adicionar dispositivo" e digitalize o código QR localizado no corpo da câmara. A aplicação irá pedir-lhe que selecione a sua rede Wi-Fi e introduza a sua palavra-passe - verifique-a cuidadosamente, uma vez que as palavras-passe incorrectas são responsáveis por 60% das falhas de ligação.
| Passo de ligação | Erro comum | Correção rápida |
|---|---|---|
| Leitura de código QR | Pouca iluminação/distância | Utilizar uma lanterna, aproximar-se |
| Introdução da palavra-passe Wi-Fi | Erros de digitação ou rede incorrecta | Copiar e colar da etiqueta do router |
| Tempo limite de ligação | Intensidade de sinal fraca | Aproximar a câmara do router |
Se a sua câmara suportar conetividade 4G/LTE, configure-a como seguro de reserva contra falhas de Wi-Fi. Esta funcionalidade revela-se inestimável para propriedades com Internet irregular ou áreas onde precisa de câmaras para além da sua casa alcance da rede. Para obter assistência técnica durante o processo de ligação, jer-tech.com oferece recursos de apoio passo-a-passo adaptados a diferentes modelos de câmaras.

Que problemas comuns de instalação devem ser esperados e evitados?
Depois de ligar a sua câmara com êxito, compreender as armadilhas comuns da instalação ajuda-o a evitar as frustrações que assolam muitos instaladores de bricolage. Já resolvi centenas de câmaras "avariadas" que simplesmente sofriam de erros de posicionamento evitáveis.
Os erros de colocação dos painéis solares dominam as minhas chamadas de serviço, sendo responsáveis por 40% das queixas de desempenho no primeiro mês. O erro mais devastador é subestimar as mudanças sazonais de sombra - um local com uma exposição solar perfeita no verão pode ficar completamente sombreado por trás das árvores de dezembro. Recomendo sempre que observe o local escolhido em diferentes alturas e estações do ano antes de se comprometer com a montagem permanente.
Os cinco erros críticos que vejo repetidamente criam problemas previsíveis. Uma exposição insuficiente à luz solar deixa o seu bateria da câmaraO sistema Wi-Fi é um sistema que requer pelo menos seis horas de sol direto diário. Sinais Wi-Fi fracos causam falhas de conetividade e notificações perdidas. Uma altura de montagem incorrecta convida à manipulação ou capta imagens inúteis. As ligações soltas falham à primeira ventania. A omissão de actualizações de firmware deixa o seu câmara vulnerável a erros e segurança questões.
| Tipo de problema | Sintoma | Solução rápida |
|---|---|---|
| Problemas de energia | Descarga frequente da bateria | Verificar o ângulo/limpeza do painel solar |
| Perda de conetividade | As notificações de aplicações param | Testar a intensidade do sinal Wi-Fi |
| Má qualidade de imagem | Filmagem desfocada ou escura | Limpar a lente, ajustar o ângulo da câmara |
A resolução sistemática de problemas poupa horas de frustração. Comece pela energia - verifique os níveis da bateria e as ligações do painel solar. Passe para a conetividade, testando a força do Wi-Fi e as definições das aplicações. Por fim, trate da qualidade da imagem ajustando o ângulo e limpando a lente. Para problemas complexos que requerem orientação especializada, jer-tech.com/contacto liga-o a especialistas técnicos que compreendem as complexidades do sistema AOV.
Como manter a sua câmara solar para um desempenho a longo prazo?
Depois de evitar os problemas de instalação, a manutenção correta passa a ser o para um desempenho fiável a longo prazo. Já vi empresas bem conservadas Câmaras AOV funcionam sem falhas durante mais de cinco anos, enquanto as unidades negligenciadas falham em dois anos - a diferença reside em rotinas de cuidados simples e consistentes.
A limpeza dos painéis solares proporciona as melhorias de desempenho mais dramáticas de qualquer tarefa de manutenção. O pó, o pólen e os excrementos das aves criam uma barreira invisível que pode reduzir a eficiência de carregamento em 40% ou mais. Recomendo uma limpeza mensal utilizando apenas um pano macio e água - os produtos químicos agressivos podem danificar o revestimento protetor do painel e criar uma turvação permanente.
O ciclo de manutenção trimestral que desenvolvi previne a maioria dos problemas antes que estes afectem a sua cobertura de segurança. O primeiro mês centra-se na limpeza do painel solar e no teste de funcionamento. O segundo mês envolve a verificação dos parafusos de montagem quanto a afrouxamentos relacionados com as condições climatéricas e a verificação da conetividade da aplicação. O terceiro mês abrange actualizações de firmware e avaliação do desempenho da bateria através do caraterísticas de diagnóstico.
| Tarefa de manutenção | Frequência | Tempo necessário |
|---|---|---|
| Limpeza de painéis solares | Mensal | 5 minutos |
| Inspeção do hardware | Trimestral | 10 minutos |
| Actualizações de firmware | Como solicitado | 15 minutos |
A documentação sazonal revela-se inestimável para prever as necessidades de manutenção. Acompanhe os níveis da bateria, os padrões de carregamento e a qualidade da imagem em diferentes condições climatéricas. Estes dados ajudam-no a detetar tendências de declínio do desempenho antes que estas afectem a cobertura de segurança. Para obter guias de manutenção abrangentes específicos para o seu modelo de câmara, visite jer-tech.com, onde os nossos recursos técnicos fornecem instruções pormenorizadas sobre os cuidados sazonais.
Conclusões
A instalação de uma câmara solar AOV é realmente tão simples como os fabricantes afirmam, sendo que 97% dos utilizadores concluem a instalação sem ajuda profissional. A chave está na preparação adequada, no posicionamento inteligente e no seguimento de passos sistemáticos, em vez de se apressar no processo. Compreendendo as diferenças em relação às câmaras tradicionais, preparando as ferramentas certas, escolhendo o posicionamento ideal, ligando corretamente ao Wi-Fi, evitar erros comunse manter o seu sistema regularmente, pode obter uma cobertura de segurança fiável que dura anos.
