How to Install Wifi Cameras: A Step-by-Step Guide
WiFi cameras are becoming increasingly popular for home and business security. They are easy to install and offer a wide range of features to keep you informed about what’s happening in and around your property. Installing WiFi cameras can seem daunting, especially if you’re not tech-savvy. But with the right guidance, it can be a straightforward process.
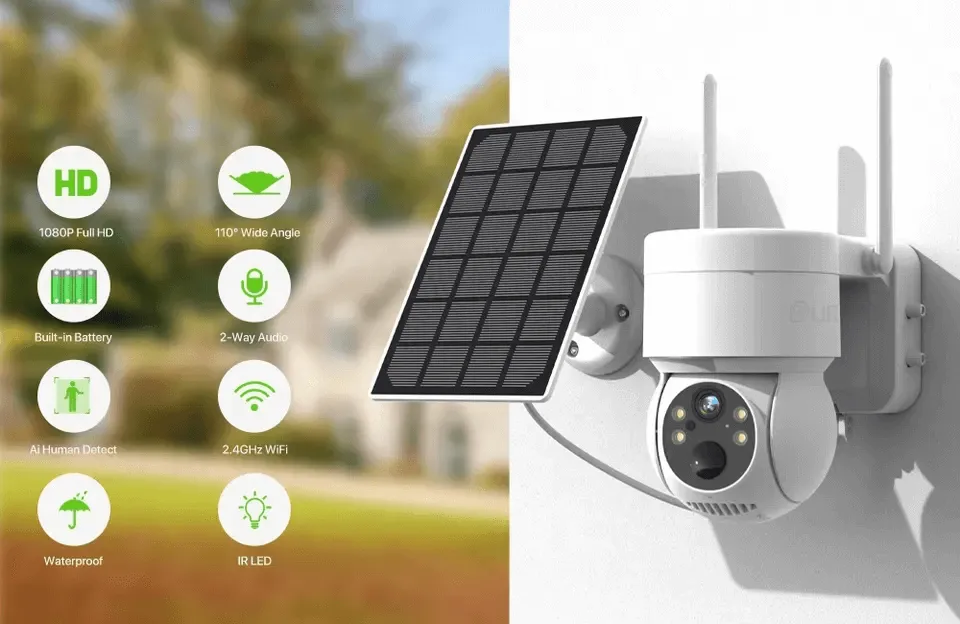
JER Technology Co., Ltd is a leading manufacturer of WiFi cameras, including indoor WiFi cameras, PTZ WiFi cameras, 4G wireless cameras, and solar wireless cameras. With our high-quality cameras and expert guidance, you can easily set up a surveillance system that will help you keep your property safe and secure. In this article, we’ll provide a step-by-step guide to help you install WiFi cameras in your home or business.

Step 1: Choosing the Right Camera
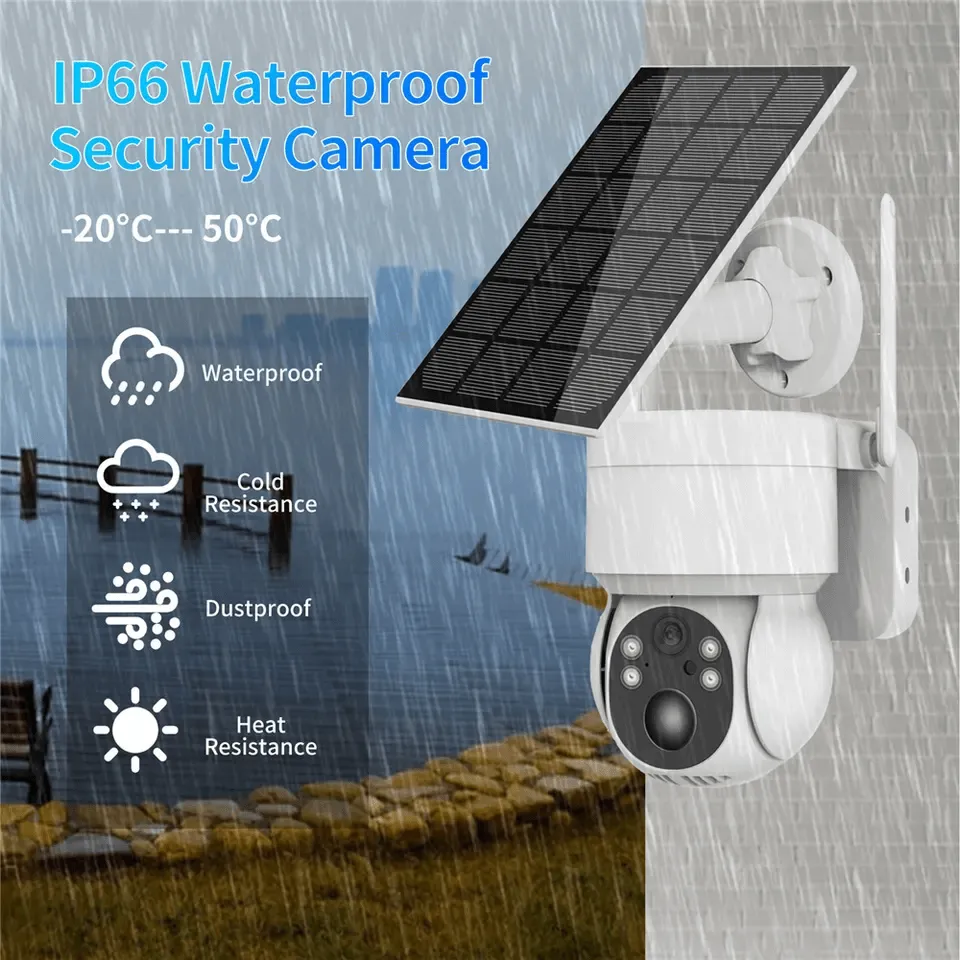
Determine where you will be placing the camera: Before you start shopping for a WiFi camera, it’s important to determine where you want to place it. Consider whether you will be using the camera indoors or outdoors and whether you need a camera with weather-resistant features.
Consider the area you want to monitor: Once you know where you will be placing the camera, consider the area you want to monitor. Do you need to monitor a large room or a small space? Do you need a camera with a wide-angle lens or one with zoom capabilities? Think about your specific needs to help you choose the right camera.
Decide on the type of camera you need: There are several different types of WiFi cameras to choose from, including indoor wireless cameras, outdoor wireless cameras, outdoor PTZ (pan-tilt-zoom) cameras, and 4G wireless cameras. Each type of camera has its own features and benefits, so think about your specific needs to help you make the right choice.
Check for additional features: Once you have narrowed down your options, check for additional features that may be important to you. For example, some cameras come with motion detection or night vision capabilities, which can be helpful for monitoring your property at all times of the day and night.

Step 2: Prepare and Install the camera
Choose the location for your camera: Before you start the installation process, choose the location where you want to place your WiFi camera. Make sure that the camera is placed in a location that provides a clear view of the area you want to monitor.
Check the strength of your WiFi signal: Before you install your WiFi camera, check the strength of your WiFi signal in the location where you plan to place the camera. A strong signal is necessary to ensure that your camera can transmit video footage effectively.
Gather the necessary tools and equipment: Make sure you have all the necessary tools and equipment to install your WiFi camera. This may include screws, brackets, a drill, and a screwdriver.
Install the mounting bracket: Most WiFi cameras come with a mounting bracket that needs to be installed before you can attach the camera. Follow the manufacturer’s instructions to install the bracket securely.
Attach the camera to the bracket: Once the bracket is securely installed, attach the camera to the bracket using the screws provided.
Connect the camera to your WiFi network: Follow the manufacturer’s instructions to connect the camera to your WiFi network. This may involve scanning a QR code or entering a password.
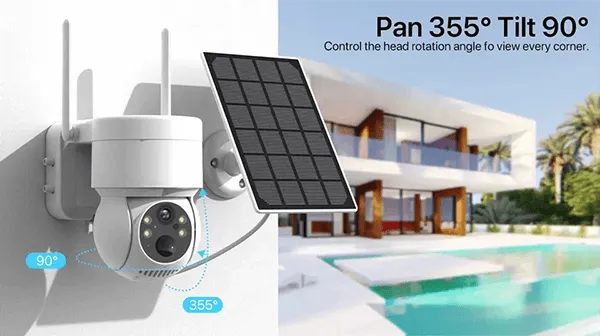
Adjust the camera angle: Once your camera is installed and connected to your WiFi network, adjust the camera angle to ensure that you have a clear view of the area you want to monitor.

Step 3: Set up alerts
Choose the type of alert you want to receive: Most WiFi cameras allow you to choose the type of alert you want to receive when motion is detected. This may include push notifications to your smartphone, email alerts, or alerts sent to your computer.
Set up your alert preferences: Once you have chosen the type of alert you want to receive, set up your alert preferences in the camera’s settings. This may include setting the sensitivity of the motion detection feature or setting a schedule for when alerts will be sent.
Test your alerts: Before relying on your alerts, test them to make sure they are working properly. Walk in front of your camera to trigger the motion detection feature and make sure you receive the alert on your chosen device.
Adjust your alert settings as needed: If you find that you are receiving too many alerts or not enough alerts, adjust your alert settings as needed. You may need to adjust the sensitivity of the motion detection feature or change the schedule for when alerts are sent.
Review and manage your alerts: Once your alerts are set up, make sure to review and manage them regularly. This may include deleting old alerts or adjusting your settings to ensure that you are receiving the right number of alerts.
By following these steps and setting up your alerts properly, you can ensure that you are notified when motion is detected and can take action to protect your home or business.

FAQs:
Q: Do I need special tools to install WiFi cameras?
A: No, you don’t need any special tools. You’ll need a screwdriver if you’re mounting the camera, but other than that, you should be able to do everything with the included components.
Q: Can I install WiFi cameras myself, or do I need to hire a professional?
A: You can definitely install WiFi cameras yourself with the right tools and equipment. However, if you’re not comfortable with DIY projects or you’re not sure you can do them safely, you may want to consider hiring a professional.
Q: Can I access my camera from my phone?
A: Yes, most WiFi cameras come with a mobile app that allows you to access the live feed and adjust settings from your phone.

Conclusion:
Installing wifi cameras is a great way to improve the security of your home or business. With our range of indoor WiFi cameras, PTZ WiFi cameras, 4G wireless cameras, and solar wireless cameras, you can easily set up a surveillance system that meets your needs. Follow our step-by-step guide to install your wifi camera, and enjoy the peace of mind that comes with knowing your property is protected.


